Public Art, Community, and Spray Paint as an Artistic Medium Inspired by Maximiliano Bagnasco
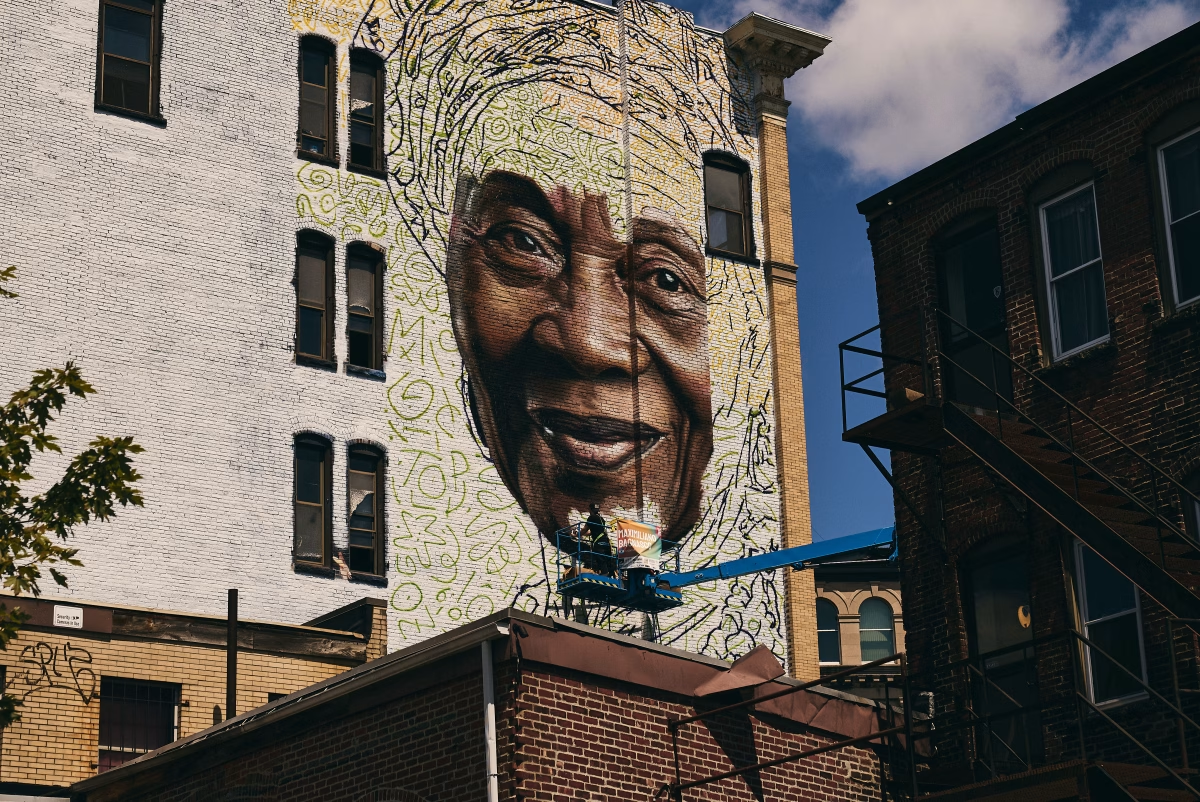
Learn safe and effective techniques for using spray paint as an artistic medium.
Jump to section
Key Indicators
Create – Conceiving and developing new artistic ideas and work.
Respond – Understanding and evaluating how the arts convey meaning.
Present – Interpreting and sharing artistic work.
Connect – Relating artistic ideas and work with personal meaning and external context.
Learning Objectives
Students will be able to…
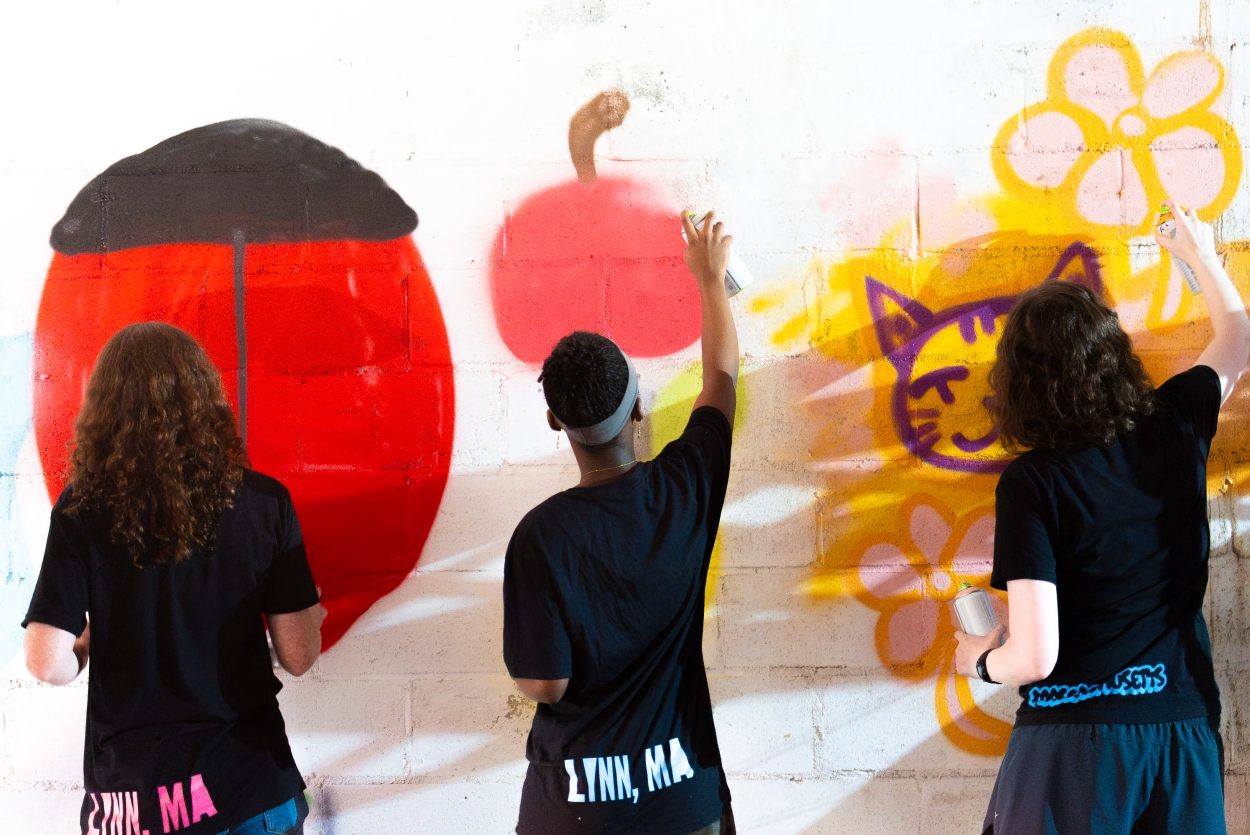
- Learn safe and effective techniques for using spray paint as an artistic medium.
- Design and create a stencil-based spray paint piece that conveys a personal or social message.
- Reflect on how art can be used to speak out, uplift, and engage communities.
- Explore the power of public art as activism and expression.
Standards
*NOT LISTED*
Content & Topics
Collaborative Art Making
Materials
- Spray paint (multiple colors, student-safe brands like MTN Water Based if indoors)
- Canvas boards, cardboard, or wood panels (11×14 or larger)
- X-Acto knives or scissors
- Cutting mats
- Protective gloves, masks, aprons
- Drop cloths or tarps
- Rulers, tape, newsprint
- For Research and Planning
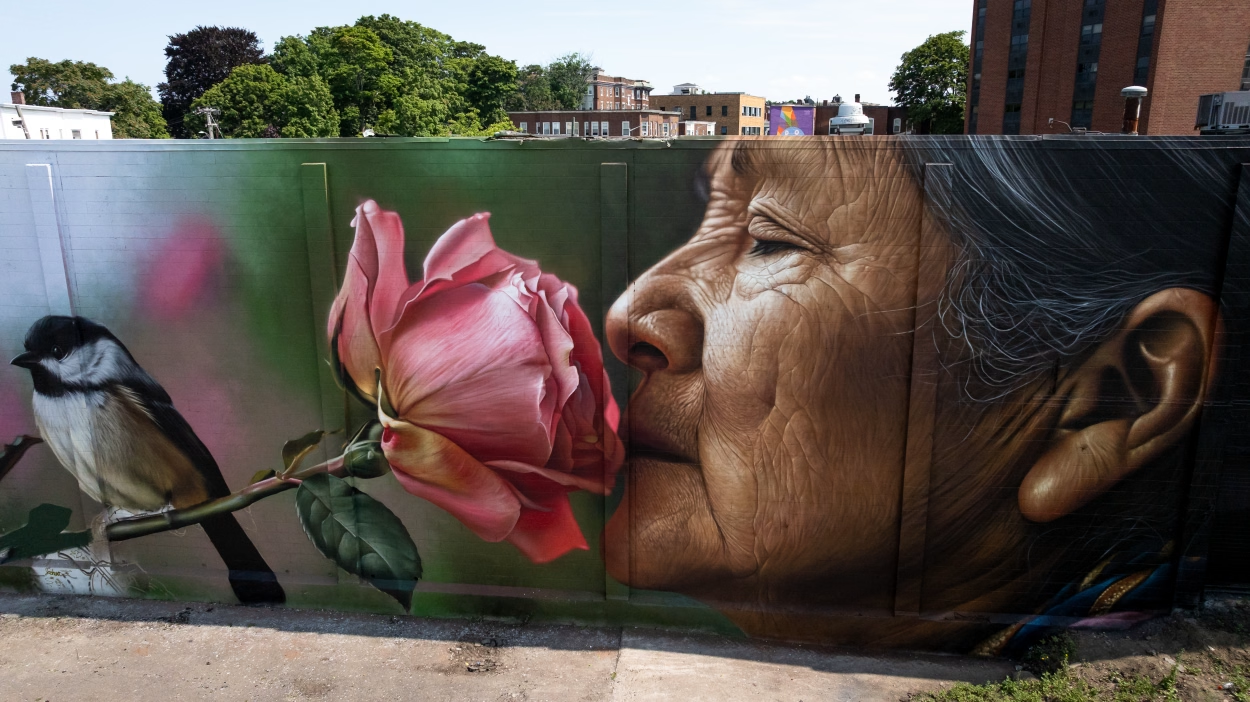
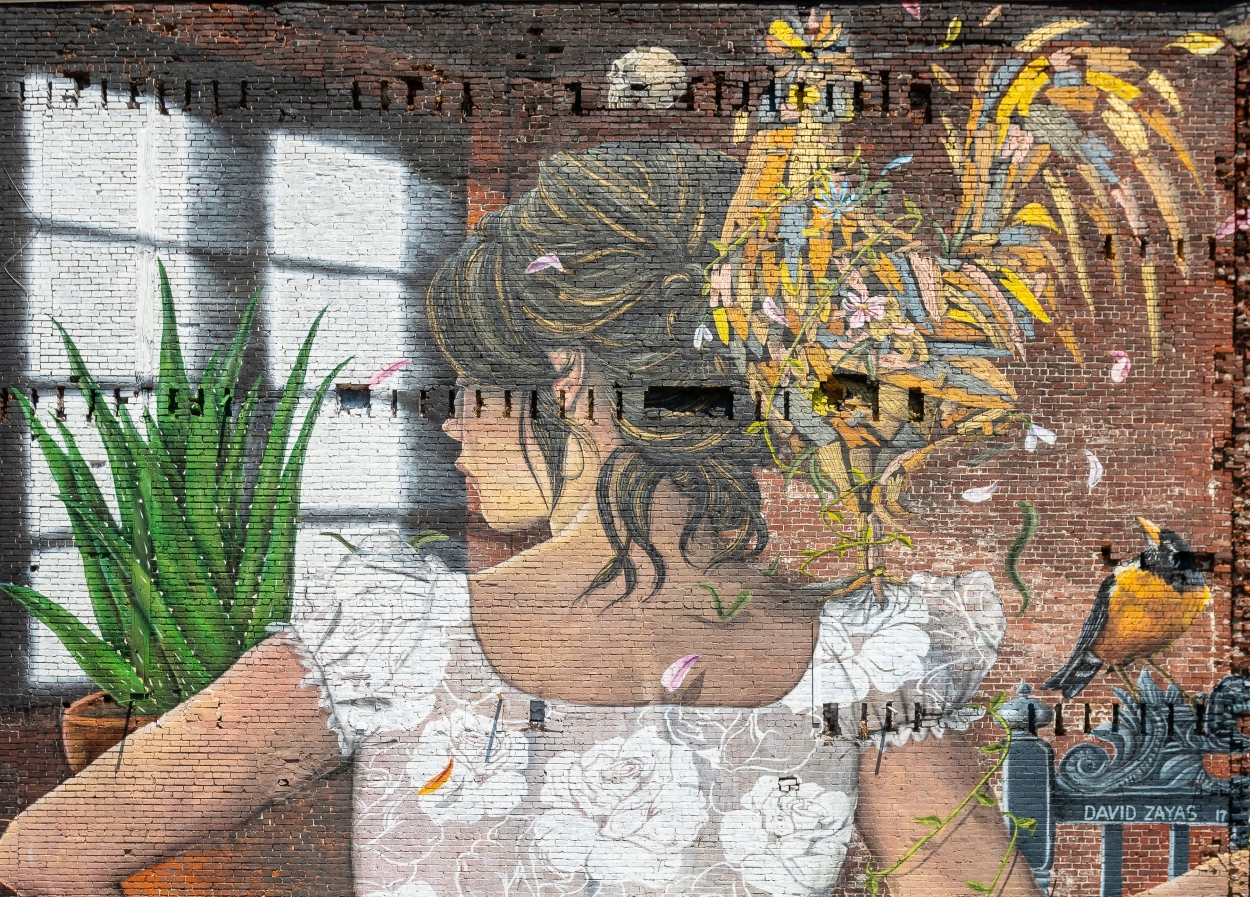
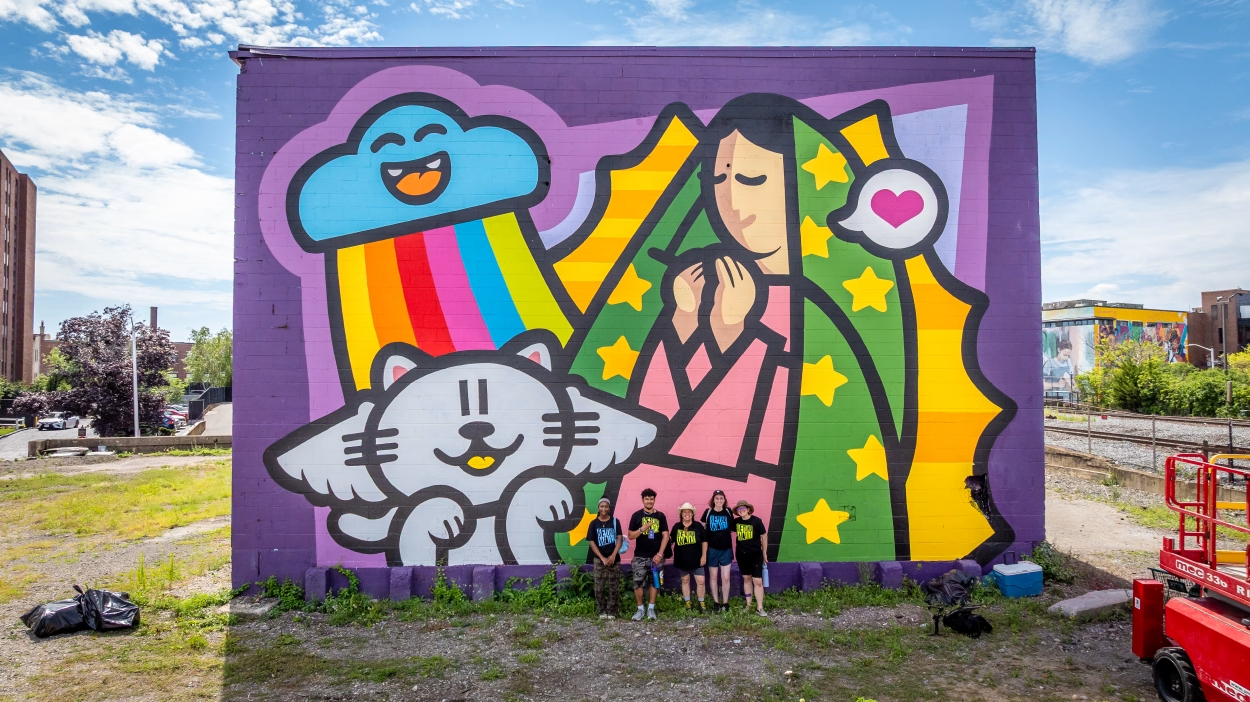
- Printed or digital visuals of Beyond Walls murals
- Sketchbooks or planning journals
- Pencils, erasers, markers, colored pencils
- Sticky notes, chart paper
- Projector or smartboard (for showing mural examples and critiques)
- For Prototype Creation
- Cardboard boxes (flattened, to simulate walls) or foam core/poster board
- Acrylic or tempera paint
- Paintbrushes, sponges, palette knives
- Rulers, stencils, compasses
- Spray paint (for extension project, with safety guidelines and PPE)
- Scissors, utility knives (teacher supervised), glue, tape
- Printed handouts: design templates, rubrics, reflection prompts
- For Presentation
- Display space (hallways, gymnasium, classrooms)
- Push pins, clips, easels
- Artist statement templates
Vocabulary
Mural – A large artwork painted or applied directly on a wall or permanent surface.
Public Art – Art in public spaces, intended to be accessible to all and often meant to inspire or represent a community.
Prototype – A preliminary version of an artwork or product used to test concepts and designs.
Symbolism –The use of symbols or imagery to represent ideas or qualities.
Community Engagement – Involving community members in decision-making and design processes.
Urban Planning – The design and regulation of space in cities, including public art and community development.
Visual Hierarchy – The arrangement of visual elements to show importance or direct the viewer’s attention.
Collaboration – Working together toward a shared goal, combining skills and ideas.
Scale – The relative size of different components in an artwork.
Contrast – A principle of design that emphasizes differences in elements such as color, shape, or size.
Procedures
Day 1: Exploring Public Art and Spray Paint
Warm-Up Discussion:
- What messages do we see in street art, murals, posters?
- Is all public art legal?
- Is all public art meaningful?
Mini-Lesson:
- Watch a short video or slide deck featuring spray paint/stencil artists (e.g., Banksy, Shepard Fairey, Favianna Rodriguez, or local artists).
Discussion Activity:
- Use driving questions to prompt small group dialogue or set up a gallery walk with posted questions.
Optional Reading/Viewing:
- Short article, artist interview, or mural description related to public art.
Day 2: Stencil Design & Idea Development
Creative Prompt:
- “If you could spray one idea into the world, what would it be?”
Sketchbook Work:
- Brainstorm symbols, words, and images reflecting beliefs, identity, or hopes.
- Create thumbnail sketches for a simple, stencil-ready image.
Mini-Lesson:
- Basics of stencil design—high contrast, clean edges, bridges/islands, layering.
Demonstration:
- Safe cutting techniques with X-Acto or utility knives.
Accommodations:
- Offer printed icons or shapes to trace/modify.
- Provide pre-made stencils for students needing extra support.
Day 3–4: Spray Paint Workshop
Setup:
- Use outdoor or well-ventilated space with drop cloths, gloves, masks, and boards/canvas.
Safety Lesson:
- Proper ventilation, spray can control, use of safety gear.
- Environmental and personal responsibility in public art.
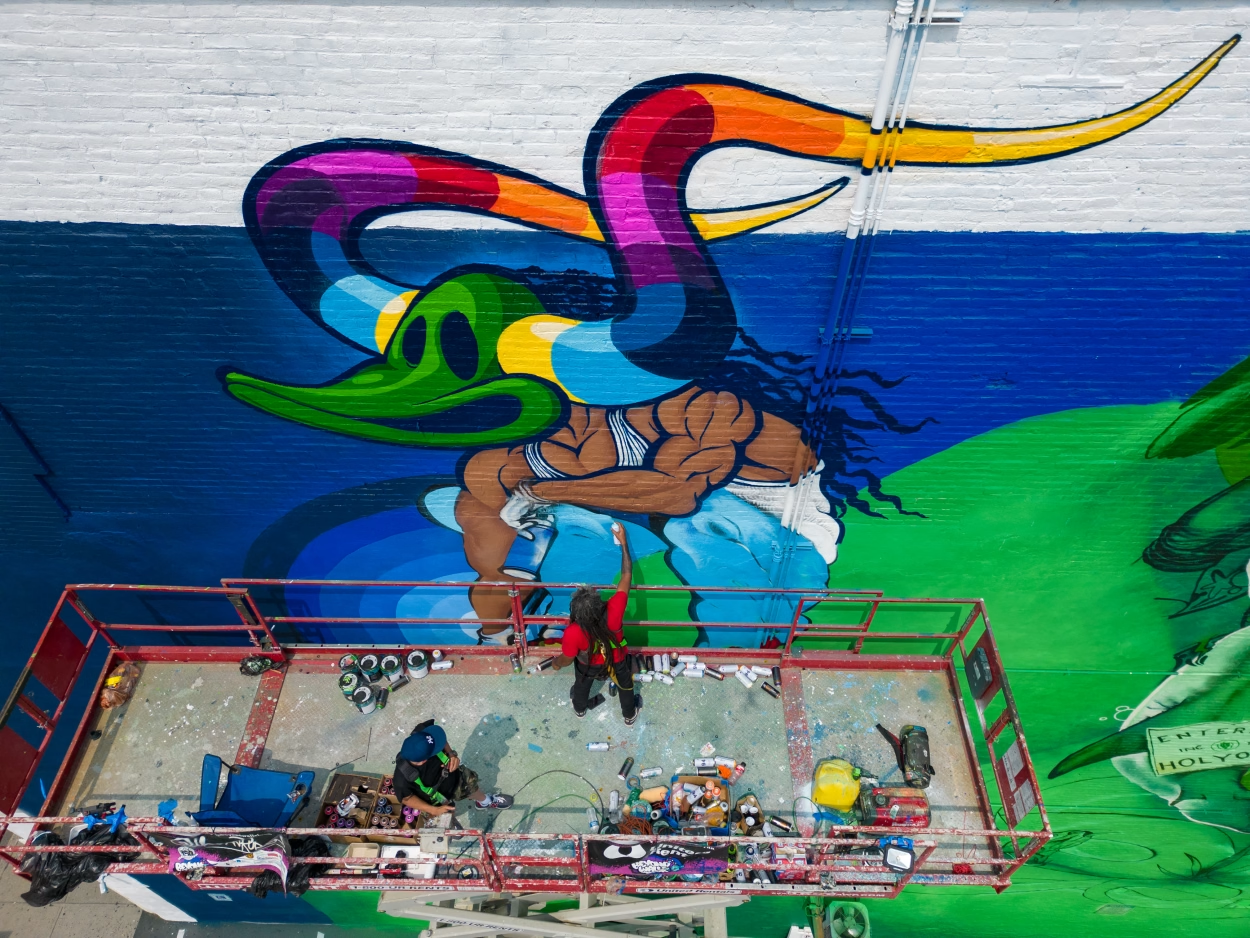
Spray Paint Techniques:
- Holding distance, layering, fades, masking, textures.
Studio Time:
- Students spray their stencil designs onto canvas boards (11×14″ or 16×20″), reclaimed wood, or cardboard.
- Option to include a short message or word (freehand or stencil).
Extension:
- Use multiple colors or stencil layers for more complex compositions.
Day 5: Reflection, Presentation, and Connection
Reflection Activity:
- Written or oral artist statement explaining the meaning behind their work.
Class Presentation:
- Share finished artwork in a classroom pop-up gallery.
Connection to Community:
- Discuss how public art impacts communities and sparks dialogue.
Differentiation
- Provide sentence starters for critiques and reflections (e.g., “This mural shows…” or “Our message is about...”)
- Allow students to brainstorm and reflect in their home language before translating to English
- Pair with bilingual partners or use small-group instruction with visual aids
- Provide graphic organizers for mural planning and research
- Use checklists to break down tasks into manageable steps
- Provide extended time and frequent teacher check-ins
- Offer leadership roles within mural teams (e.g., team coordinator, materials manager, concept developer)
- Allow students to contribute written thoughts to collaborative idea walls or feedback boards
Assessment
Formative:
- Student Journal/Mind Map (Individual)
- Sketches and mockups (group)
- Critique circles: Peer feedback sessions to refine ideas
- Field Trip Discussions
Summative:
- Mural Prototype and Presentation.
Assessment Purpose
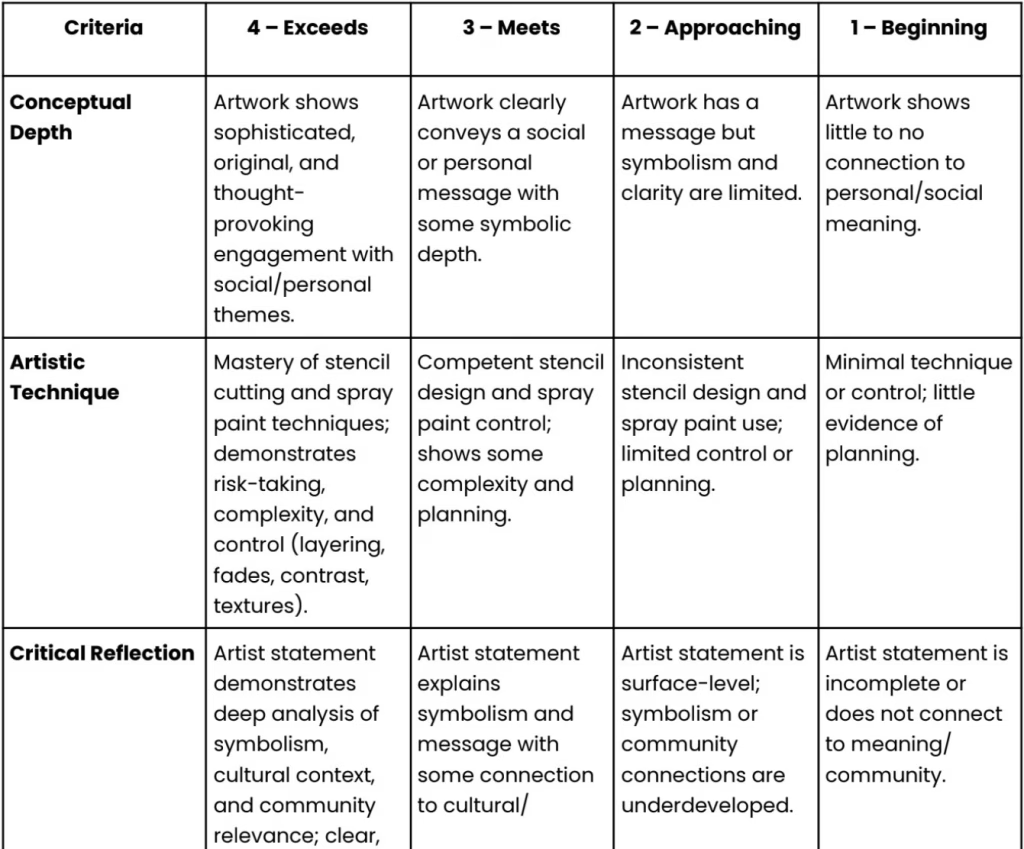
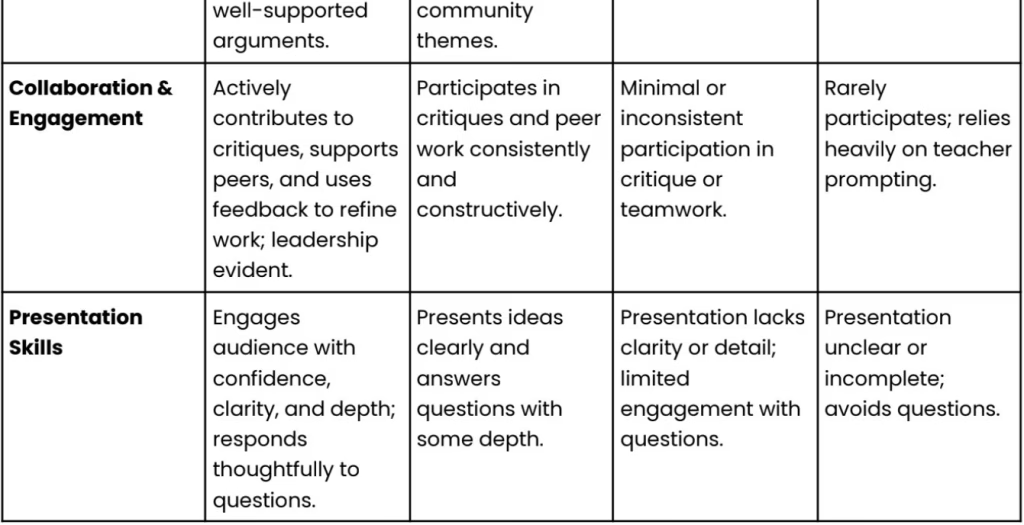
- Assess students’ ability to conceptualize, design, and produce a stencil-based spray paint artwork with a compelling message.
- Evaluate advanced artistic technique, symbolism, and creative risk-taking.
- Measure students’ ability to critically reflect on public art’s role in activism, culture, and community engagement.
- Encourage authentic presentation skills through an artist statement and critique dialogue.
Assessment Components
Formative Assessment
- Research & Idea Journals: Documentation of community themes, influential mural/street artists, and preliminary sketches.
- Design Development: Multiple iterations of stencil ideas, experimentation with scale, contrast, and layering.
- Critique Circles: Evidence of giving and receiving constructive, specific, and actionable feedback.
- Reflection Logs: Notes connecting public art to activism and social issues.
Summative Assessment
- Final Artwork: A finished stencil-based spray paint piece or mural prototype that demonstrates advanced control of technique and visual communication.
- Artist Statement (500–700 words or 3–5 minutes oral): Written or spoken reflection that:
- Explains the symbolism and design choices.
- Connects the piece to a broader social/cultural/community issue.
- Discusses how art can function as activism
- Presentation & Critique: Formal gallery-style presentation with Q&A, demonstrating ability to articulate ideas and respond thoughtfully to peer/teacher questions.
Rubric (High School Level, 4-Point Scale)
Tiered Supports for English Language Learners (ELLs)
Beginning ELLs
- Provide bilingual glossaries with visuals (symbolism, contrast, activism, prototype).
- Allow oral storytelling, labeled sketches, or audio recordings instead of full written statements.
- Scaffold sentence frames: “My artwork symbolizes ___ because ___.”
Intermediate ELLs
- Graphic organizers for artist statements (themes, symbols, social issue, personal connection).
- Paired/group critique using guided prompts to build academic art vocabulary.
- Draft in home language, then translate/refine key sections with support.
Advanced ELLs
- Scaffolded academic language for critique: “The artist’s use of contrast communicates…,” “This piece reflects activism because…”
- Challenge to incorporate references to external artists or movements in their statements.
- Opportunity to lead critique discussions or co-present with peers.
Teacher Notes
- At the high school level, emphasize authentic voice and risk-taking in both the artwork and reflection.
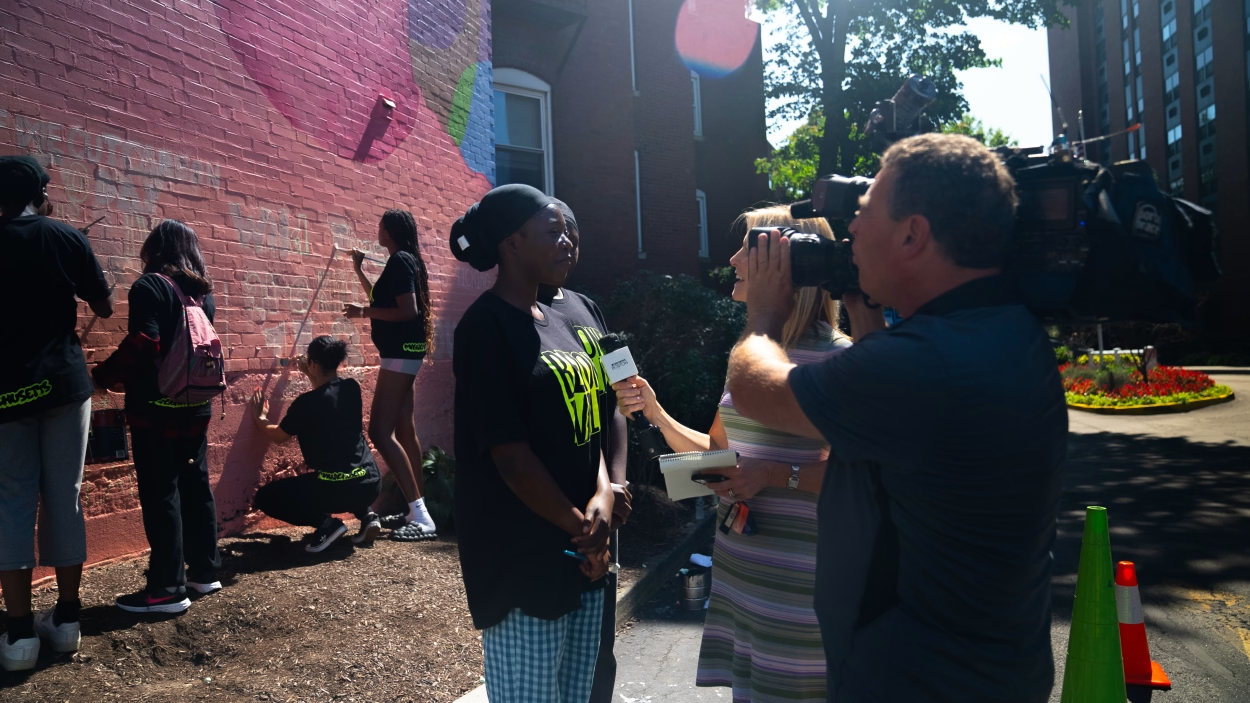
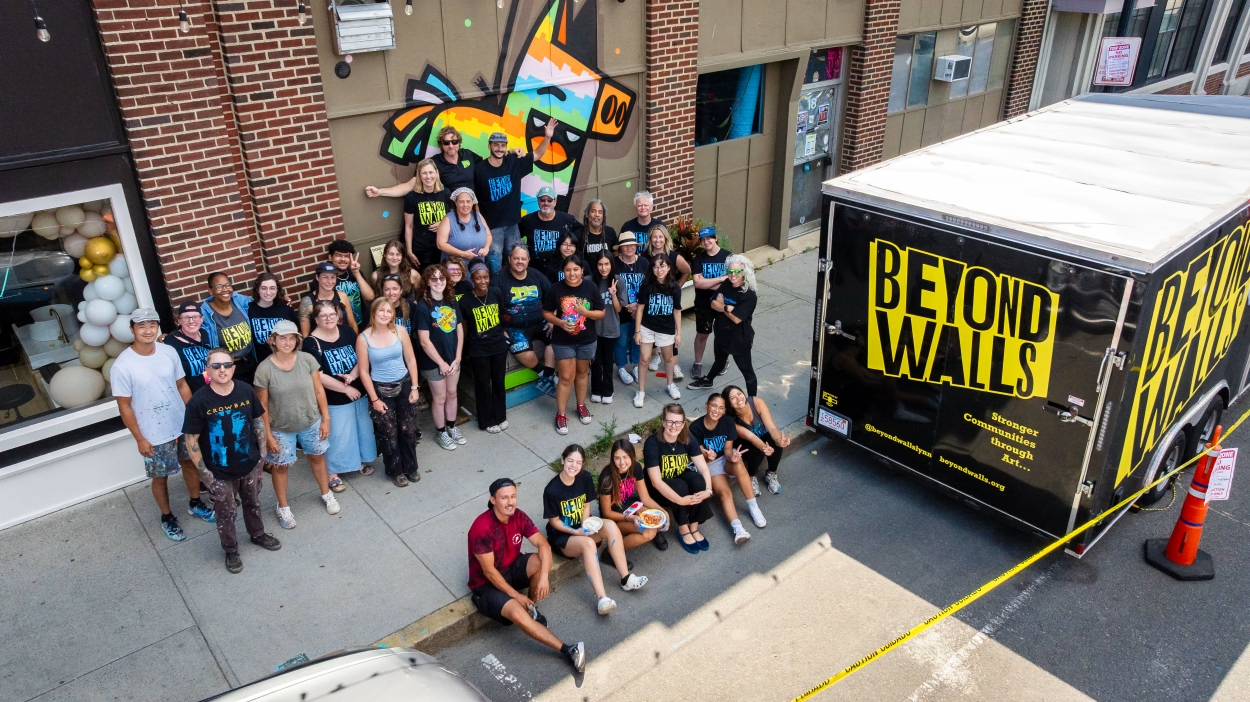
- Encourage students to connect with real-world public art movements (e.g., Banksy, Shepard Fairey, Beyond Walls) and current issues in their communities.
- Assessment should value process + product + reflection equally.
Resources
identity map worksheet
PBL and Art Identity
how to cut a stencil